No products in the cart.
The Geometry of Food Photography
THE GEOMETRY OF FOOD PHOTOGRAPHY
Contributed by Jaquelyn Olalere
What’s the most annoying part about taking pictures of food? It might look blurrier than expected, although some careful tweaking on your camera focus might improve that. However, you could take a perfectly focused picture of the tastiest shawarma in Dubai, and they’d look very mundane.
Sure, you could use trial and error to eventually get it right, but that’s just a lot of time, effort, and energy that has to go to capture the perfect picture of amazing food. Your best bet, however, is understanding how the angles work, and how perfect angles can significantly enhance how appetizing food can look in a picture. So, how can geometry improve your food photography?
1. The rule of thirds
Yes, it might sound like delving into fractions, but if you haven’t heard about the ‘rule of thirds’, you should know it’s simpler than it sounds. To define it as briefly as possible, the rule of thirds states that you mentally divide the image you’re capturing into three parts, horizontally and vertically. Essentially, you should have a reasonably equal 3×3 grid.
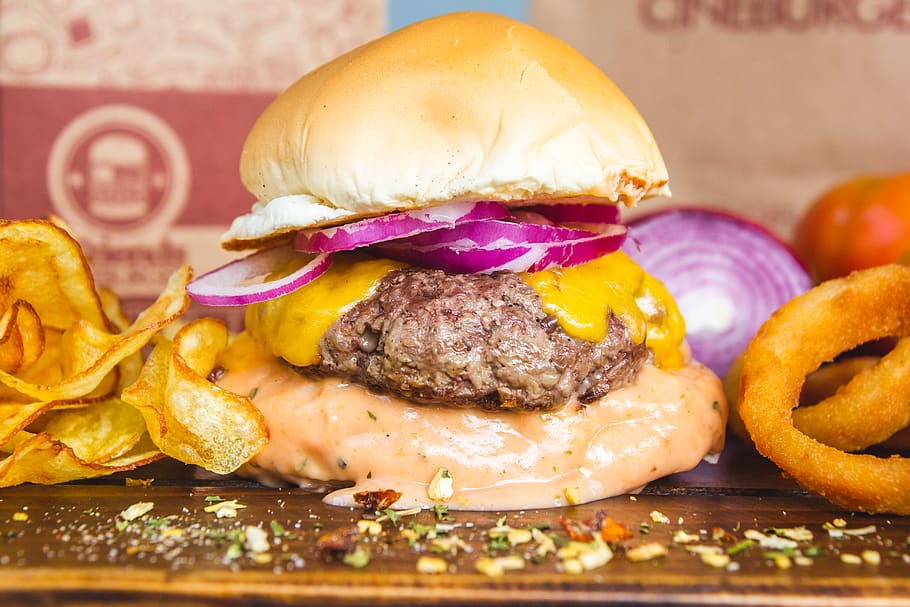
Now, this is where it comes in handy: if you place the focus on any of the points where two lines cross, your image will look catchier. You don’t necessarily have to follow the rule of thirds, but it’s a very useful tip that will improve your photography. So next time you’re taking a picture of that burger, remember the rule of thirds. Generally, keeping the focal point just off the middle will enhance the way your pictures come out.
2. Set up diagonally-lined props
Sure, you’re not always going to use props when you take photographs of food, but props can come in quite handy. It’s always helpful to minimize the props (or clutter) to keep the viewer’s attention where you want them to focus. However, when props are done correctly, they don’t distract, but add to the viewer’s pleasure.
So if you’re adding props, like an extra burger besides the burger you’re focused on, keep the prop burger angled diagonally from the main one. It could be behind or in front of your main burger, but it should be to the side as well. This ensures that the props never compete with the main focal point. The viewer gets pointed to the main focus first, and then their eyes can trail off to any other props you’ve added.
3. Take shots from key views
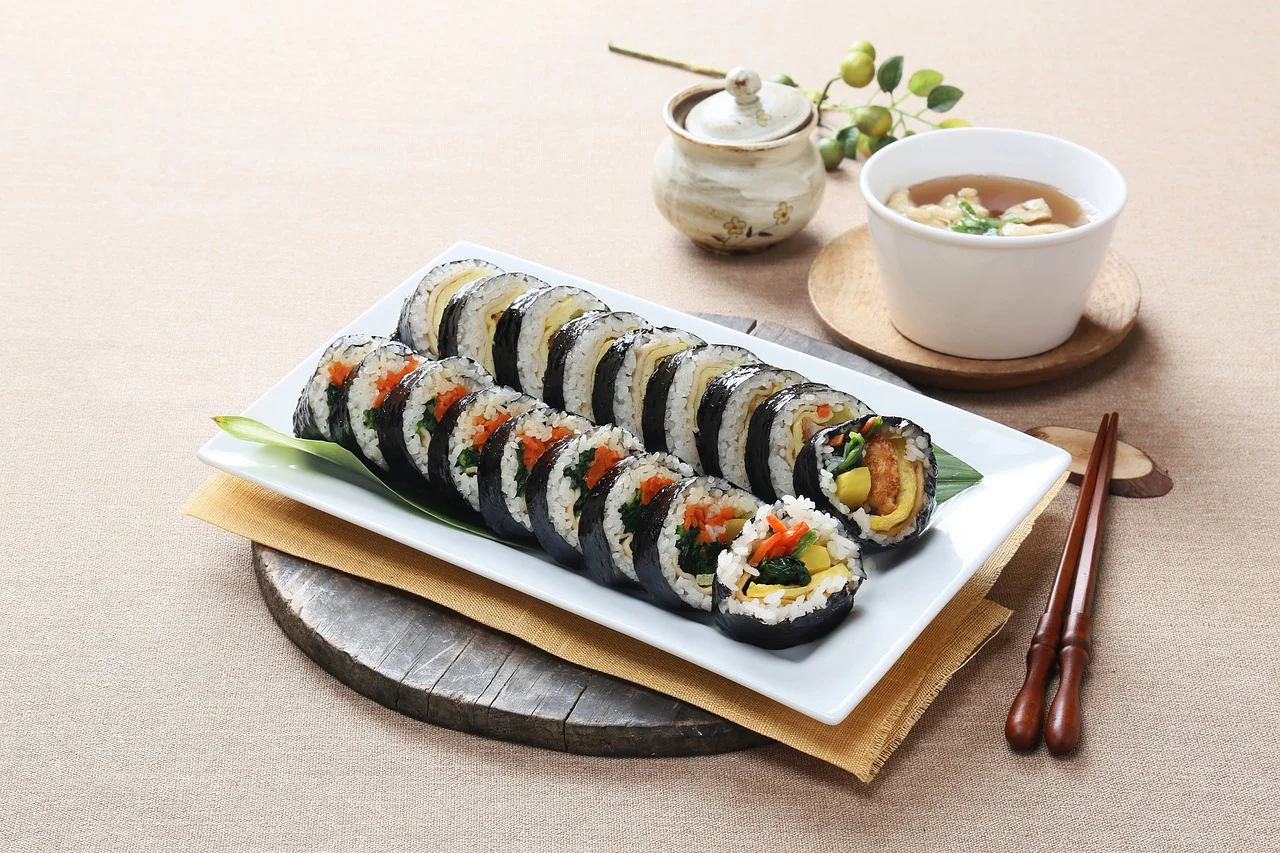
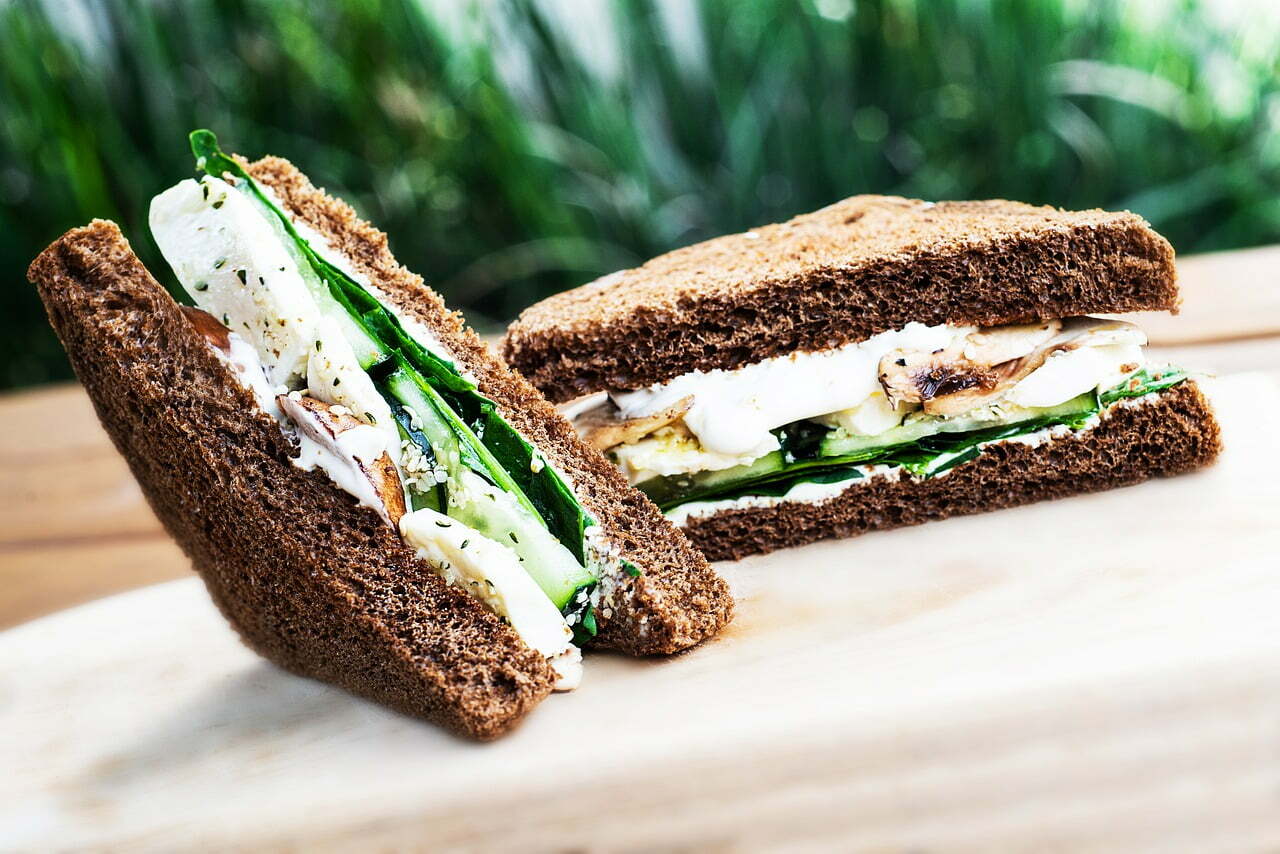
The view of the shot you take should depend on the food you’re shooting, especially when there are key aspects (like the hot cheese dripping from a burger) you don’t want to miss. However, there are three main views that you should shoot from; straight-ahead, overhead, and cross-sectional.
With the straight-on angle, your camera is lined up perfectly with the food. This angle is perfect for that yummy burger with the dripping cheese because it would clearly capture the cheese.
However, if you want to capture the sesame seeds on top of the burger bun perfectly, then you’ll need the overhead angle. It’s simple and it gives the viewer a great view of the food from above. Overhead shots are perfect for capturing food with a lot to show off, and would certainly be a little boring for shawarma pictures.
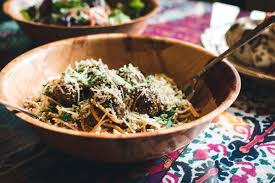
The cross-sectional view is a mixture of both views, giving the viewer access to some of the top and some of the side of the food as well. However, it’s really perfect for showing off the amazing background with the props you’ve set up. How much background you want to show will mostly depend on how you angle your camera. Angling towards an overhead view will show less background, while angling towards a straight-on view will show more.
The geometry of food photography can be summed up with these few tips. Sure, there are hundreds of tips about different ways to improve your food photography, including using a macro lens to capture finer details. With an improved understanding of how geometry can improve how great your food looks, you’re certainly off to a better start.
